Happy July 4th! + Easy Protein Ice Cream
Firstly….
Happy Independence Day everyone! I hope that you get to spend this day with your friends and family and enjoy a little time off work! Even though the US is my adopted country, I am still very thankful to all the Veterans who have served, and all the Servicemen and Women who continue to serve this country. I thank them for their undeniable sacrifices so that we can have the lives that we have now. Thank you. You probably have already realized that summer is in full swing. It seems like everyday in Texas is reaching almost 100 deg F! And the humidity is not making my hair any better lol! So why not beat the heat with a little homemade ice cream?
The Latest Ice Cream Trend
A big food trend right now is protein ice cream. Brands such as Halo Top or Arctic Zero have really paved the way for a healthier alternative to the traditional ice cream. Part of the draw of these ice creams is that it is not only low-calorie and reduced sugar, but it also has an extra boost of protein. Typically this protein comes in the form of whey protein. If you’ve tried any of these ice creams before, you will notice that the texture is much more icy than regular ice cream. This is because there is not a lot of fat in the ice cream to give that creamy consistency. Also, you may feel a chalky texture in your mouth when eating these kinds of ice cream. That is due to the protein powder. Another big issue with buying these protein ice creams is that it can be very expensive. Typically 1 pint can cost anywhere from $4-$6. While it might be ok to spend this kind of money for a once-in-a-while treat, the recent bout of excruciating heat calls for a more regular ice cream regimen! Am I right?!
Why Homemade Ice Cream?
Inspired by these protein ice creams, I set out to make my own version at home. What I found was….. it is so easy to make ice cream! For a vanilla ice cream, all you need is 4 ingredients, a whisk or a blender, and an ice cream maker or a little patience and a freezer. There are a lot of benefits to making ice cream at home. Firstly, it is totally customizable. This means that if you want a vegan ice cream, you can make it animal-product free. Or if you want to use full fat or skim milk, you can do that too. If there is a particular flavor combo you like, go for it! The versatility is one of the best things about this recipe. Secondly, you can opt for a whey based or a vegan based protein powder. This is particularly good if you have a favorite protein powder and protein powder flavor. For a vanilla ice cream, I recommend sticking to a vanilla flavored protein powder. But for other flavors of ice cream, feel free to use what you like. My favorite protein power is Vega All-In-One in Vanilla. I think it has the best, most versatile flavor, and it has the added benefit of being filled with lots of nutrients from fruits and vegetables, like spinach and kale. This may give a slightly green tinge to the ice cream, but I find that goes away as you continue to freeze the ice cream. Lastly, you are in control of how you want to sweeten the ice cream. I used raw agave nectar, but you could use your favorite sweetener. Stevia, maple syrup, or even dates could be used to sweeten this ice cream. If you use dates, you will definitely want to blend it thoroughly with the rest of the wet ingredients in a high-speed blender. If you have an ice cream maker, this recipe comes together so quickly! I can make a batch of ice cream in about 20-30 minutes. That includes the time in the ice cream maker!
What if I don’t have an ice cream maker?
There are a couple of ways to make this recipe if you don’t have an ice cream maker. First, you can mix together all the ingredients, pour it into a freezer-safe container, then place in the freezer. You will want to stir the ice cream every 30 mins to 1 hr, to try to minimize getting a crystalized consistency. Depending on the size of the container, the ice cream will likely take several hours to be full set. Secondly, you can mix the ingredients together, then freeze it in ice cubes. Once completely frozen, use a high-speed blender to blend the ice cubes to a thick milkshake-type texture. You will probably need to add a little more coconut milk to the blender to get the blending going. Once completely blended, just pour it into a freezer-safe dish and place in the freezer.
But how is this ice cream really???
I actually love this ice cream! If you use a full fat coconut milk, the texture of the ice cream right out of the ice cream maker is like soft serve. That is my favorite way to eat ice cream. If you like a firmer ice cream, just pop the ice cream into the freezer for 1-2 hours. This ice cream is best served very soon after it is made. As it continues to freeze in the freezer, it will become very hard and will require some thawing to be spoonable. When the ice cream is at the soft serve consistency, I don’t get a super chalky feeling from the protein powder. If you let the ice cream melt, then yes, you will get that slightly chalky texture on your tongue. So just eat your ice cream before it melts!The double vanilla hit from the protein powder and the vanilla extract really adds a lot of flavor. I highly recommend this! It really makes it taste like a store-bought vanilla ice cream.
An Independence Day Twist on Ice Cream
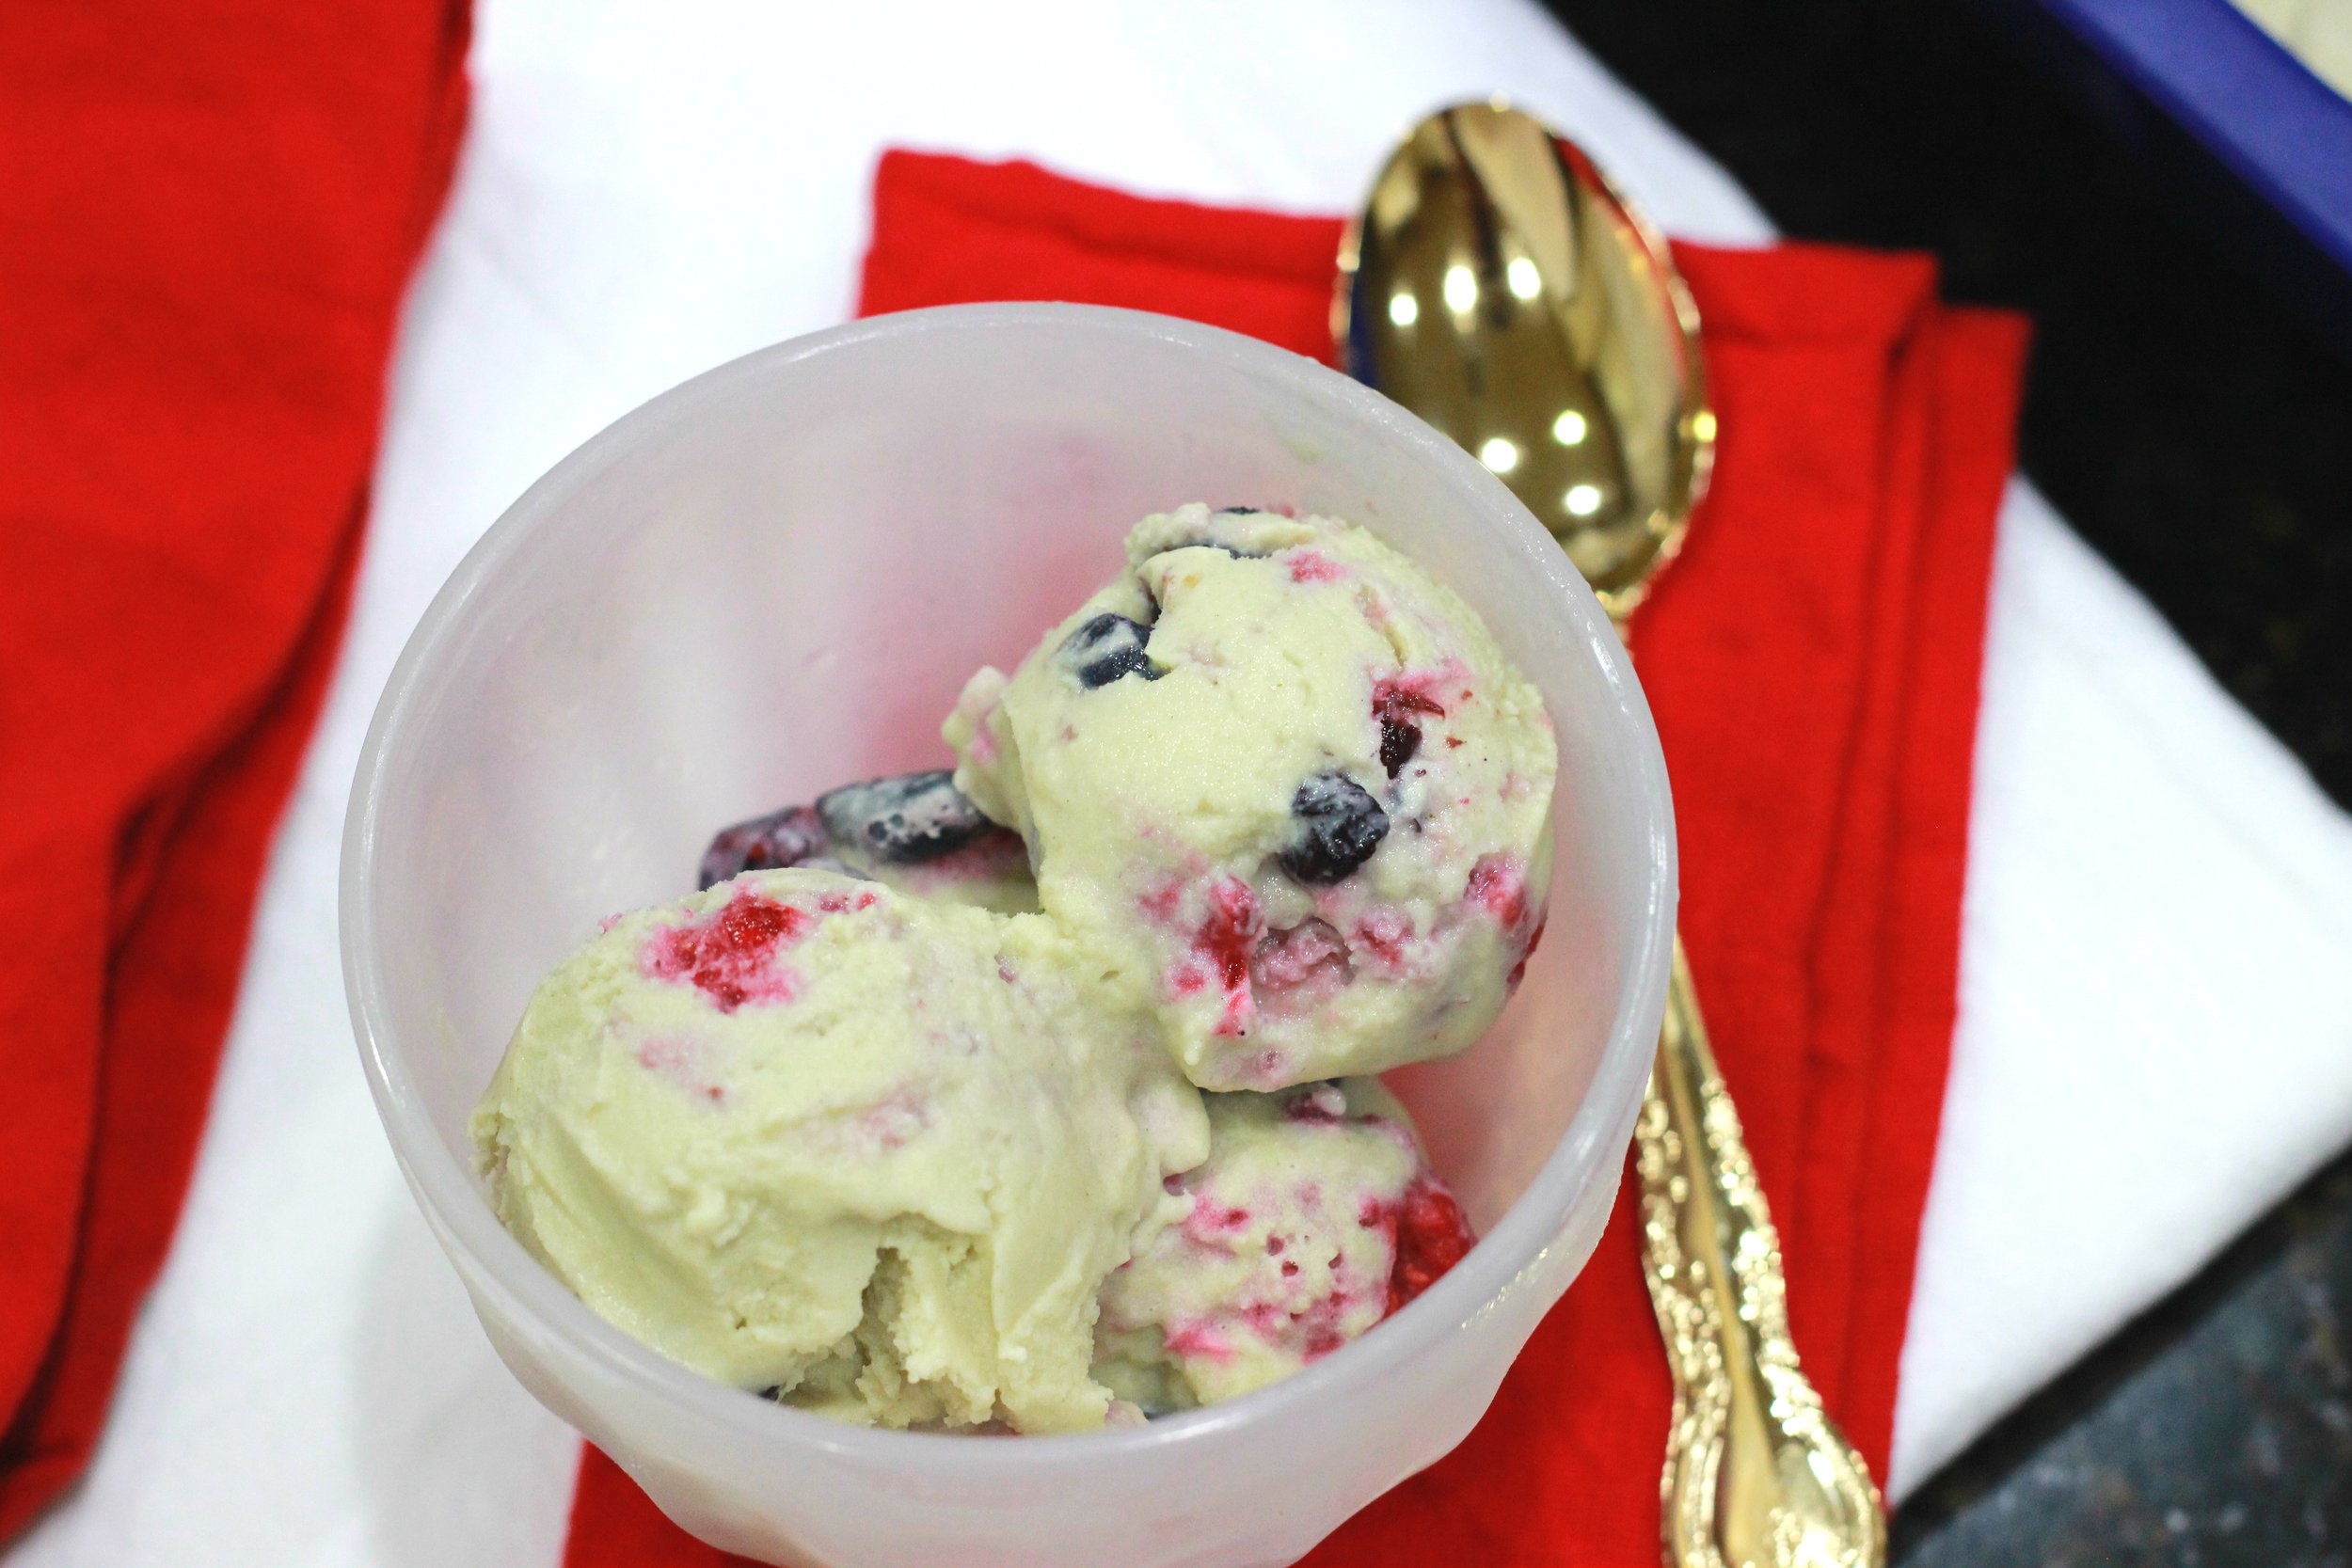
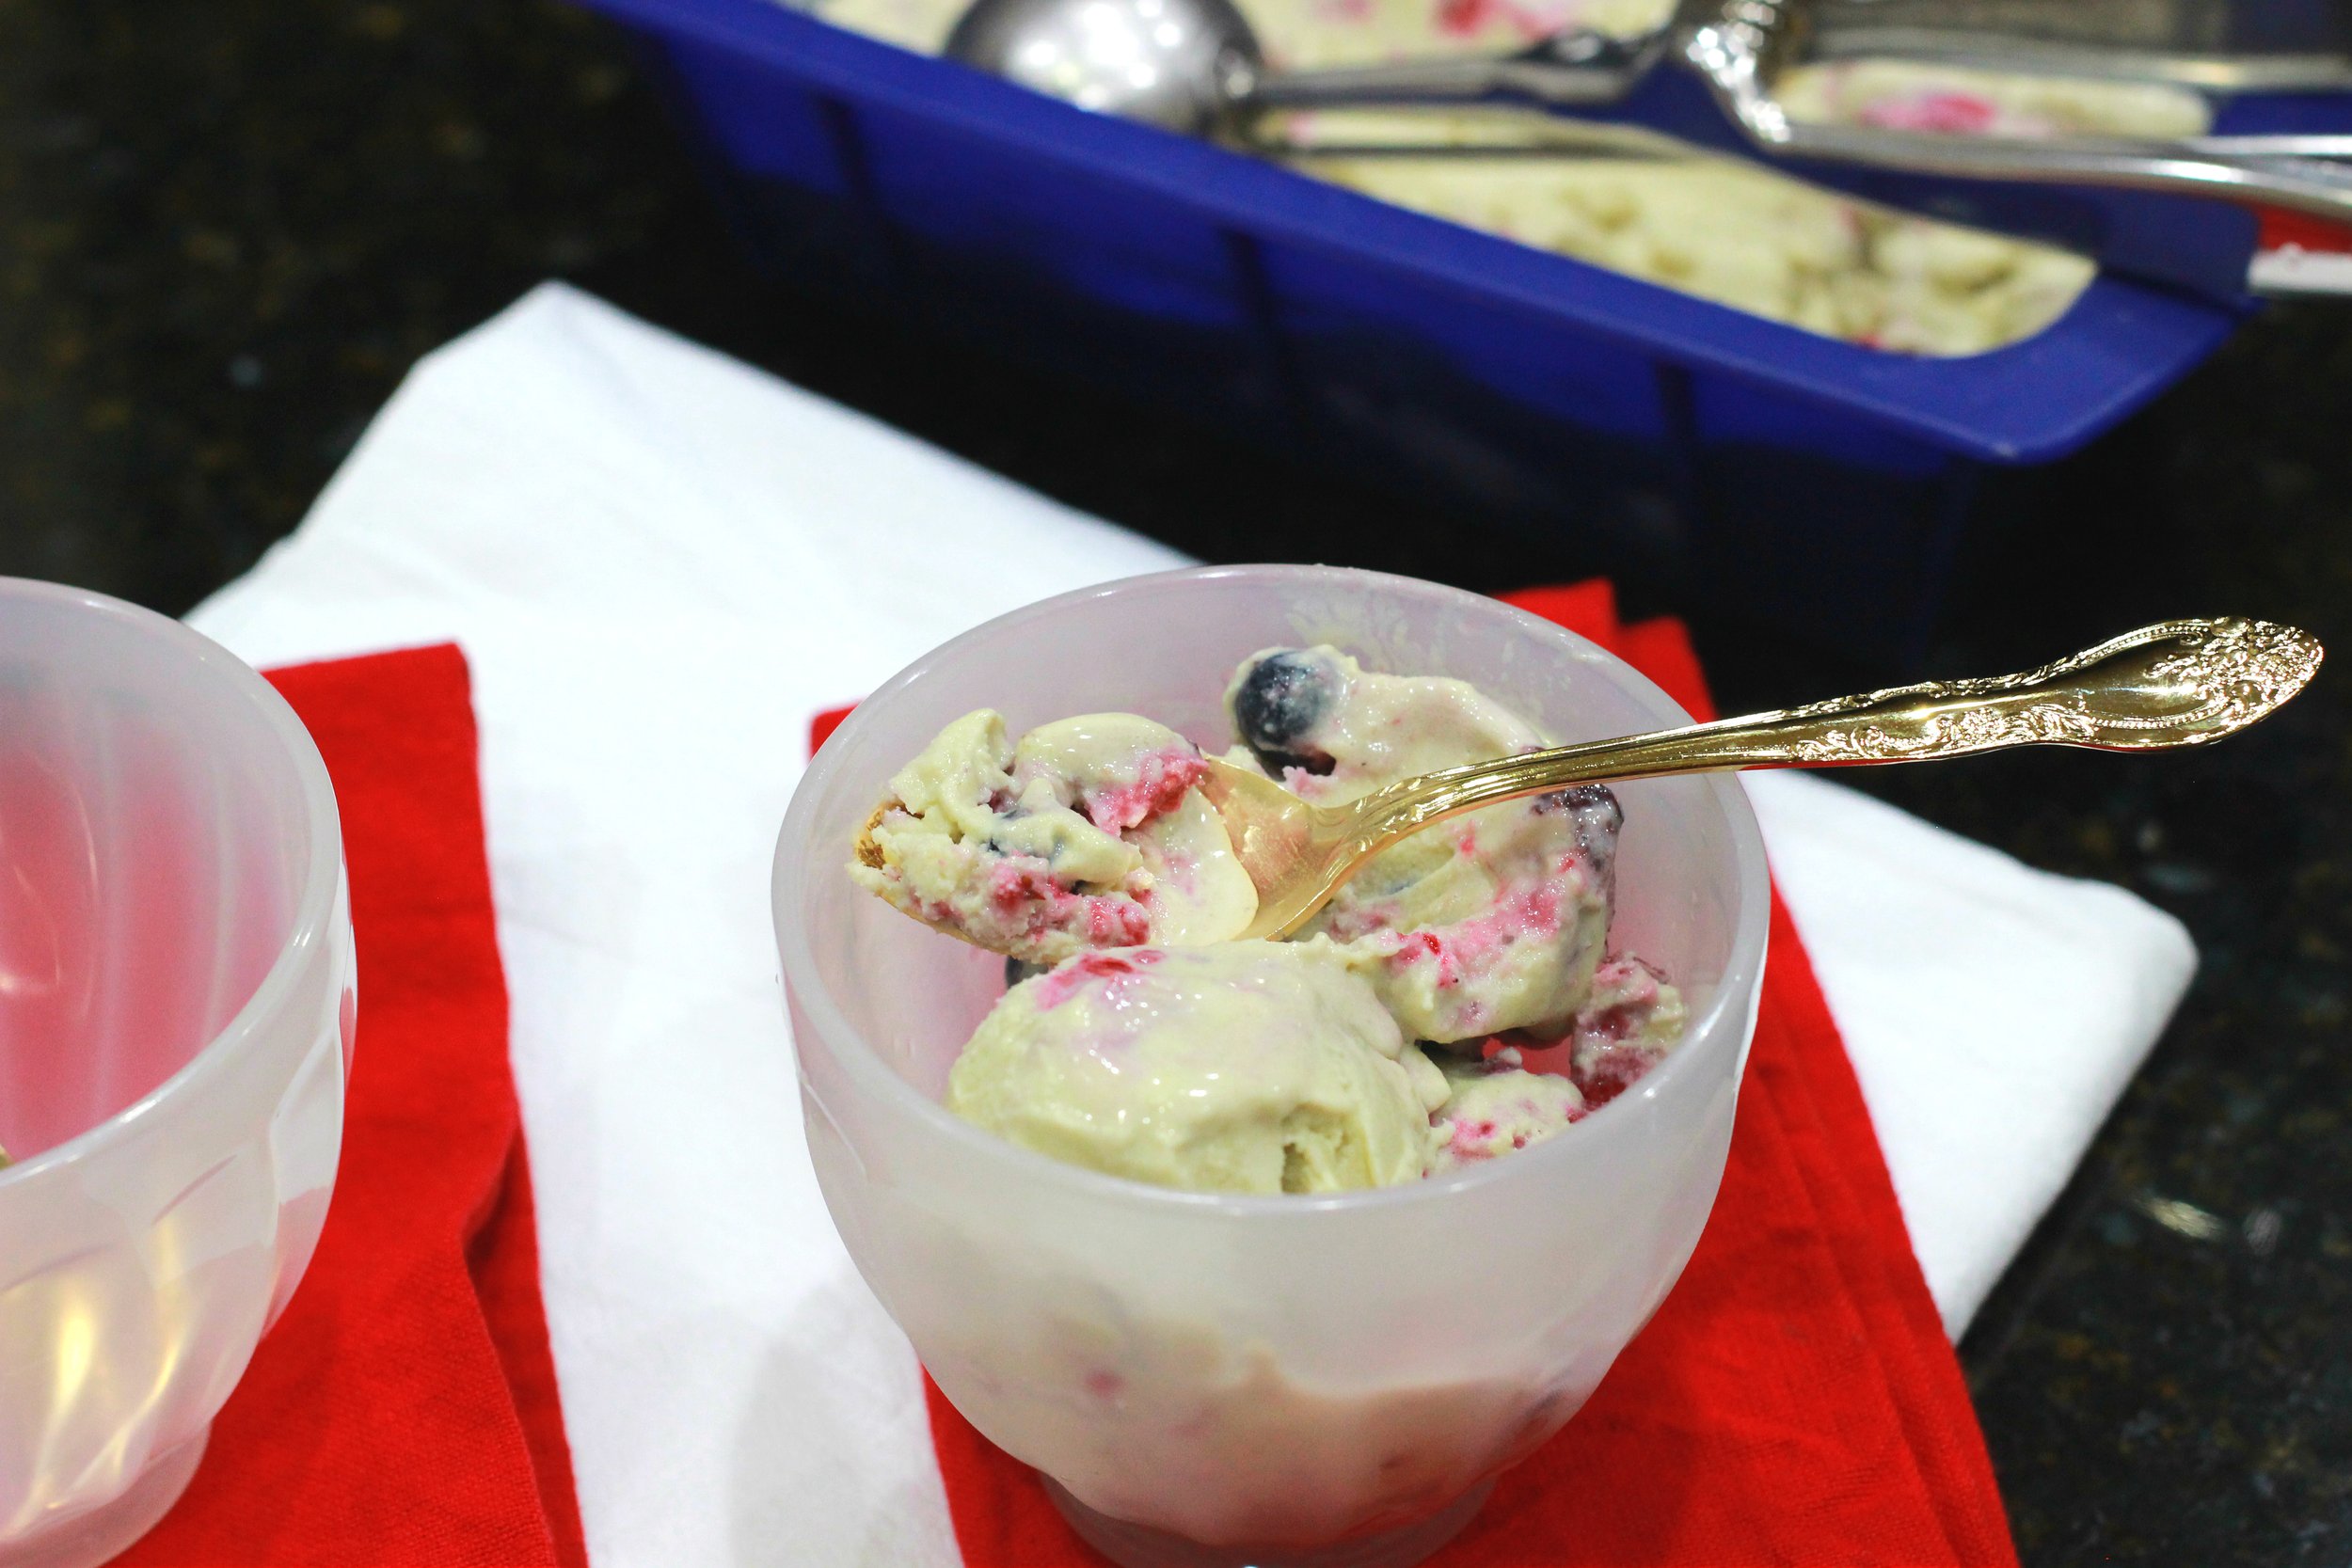
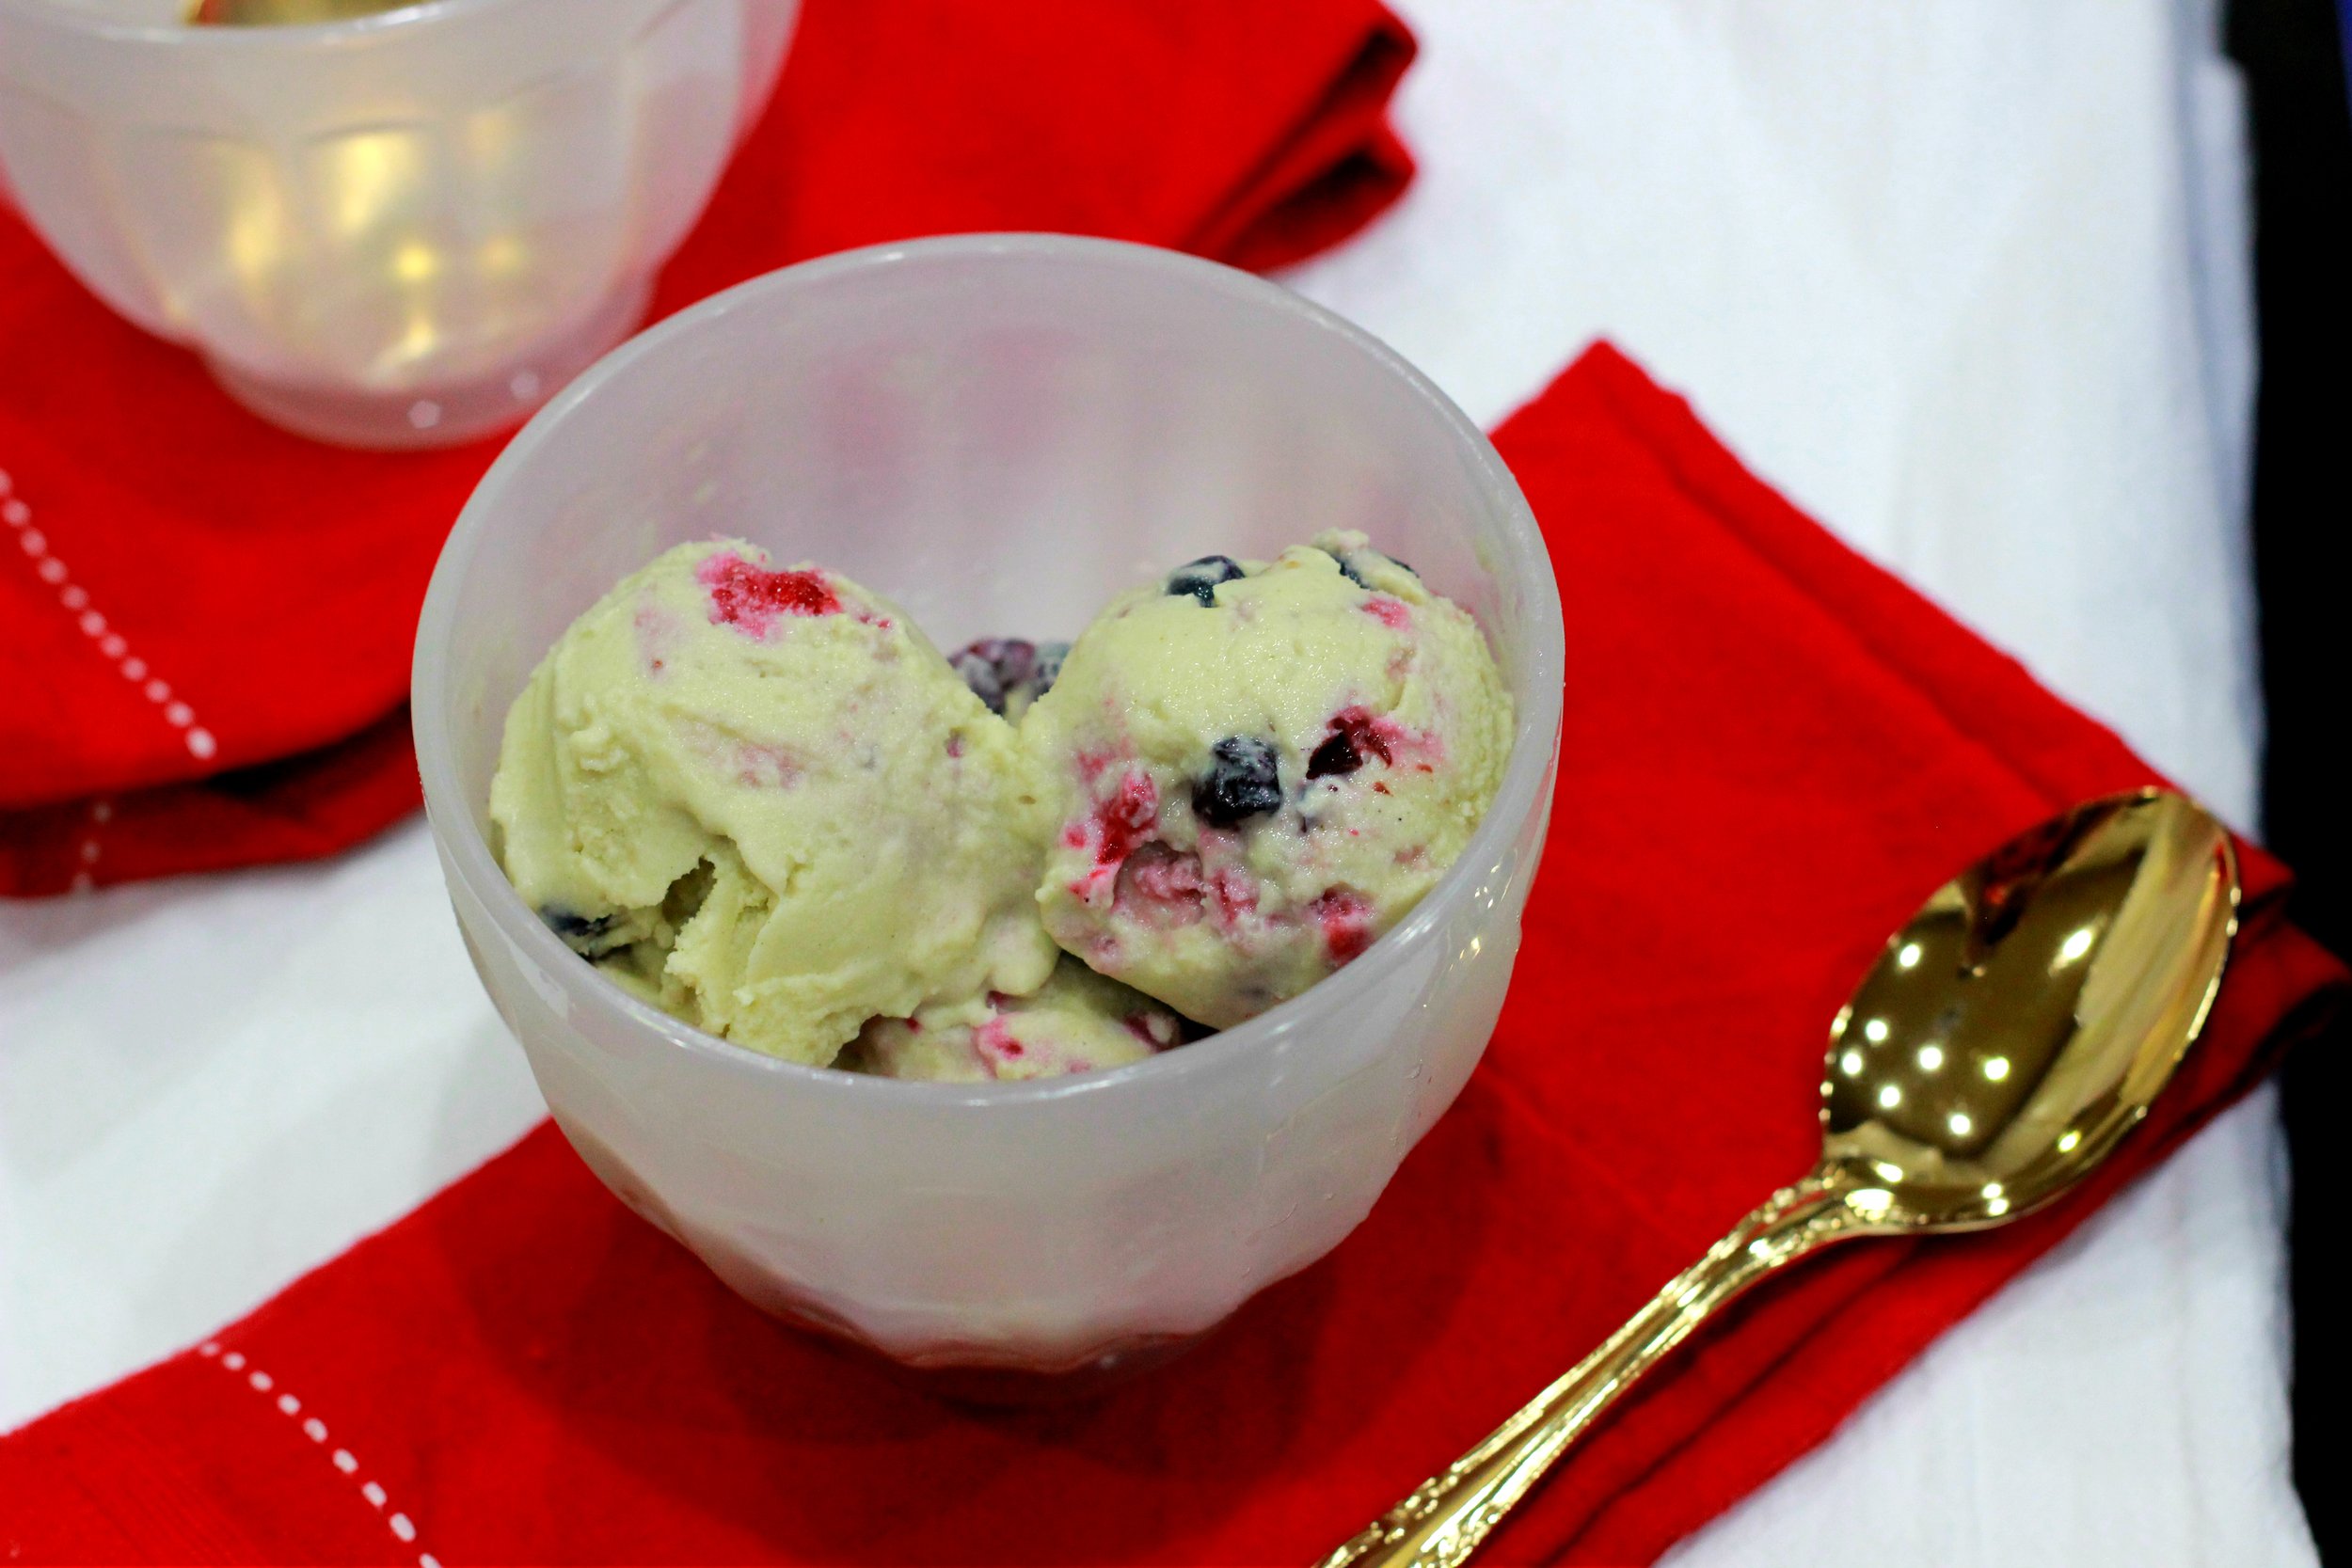
To make this ice cream for a festive occasion, such as for an Independence Day party, you can easily add a little red and blue by using berries. I mashed up some raspberries and blueberries, and swirled them into the ice cream before freezing it to a firmer consistency. It created such a cool, colorful swirl!  This is a really fun, healthy and delicious protein ice cream. My husband even says that it is better than those protein ice creams you can buy in store! So cool! Plus it comes together so quickly, that you could whip up a batch almost any night of the week.I hope you try this recipe! If you do, take a photo and tag me on Instagram at @nourish_with_renata and #nourishwithrenata on Instagram! I would love to see what you make!
Homemade Protein Ice Cream

A super easy and delicious homemade protein ice cream!
- 1 can full-fat coconut milk
- 1 scoop protein powder
- 2 tbsp stevia or sweetener or choice
- 1 tsp vanilla extract
-
In a blender, add all ingredients and blend till thoroughly combined.
-
Pour into an ice cream maker, and allow to churn per the manufacturer instructions.
-
After churning the ice cream in the ice cream maker, if a firmer consistency of ice cream is desired, transfer the ice cream to a freezer-safe container and place in the freezer for 1-2 hours.
This ice cream is best served soon after making it. If you have set the ice cream in the freezer for too long, allow to thaw slightly at room temperature till at the desired softness. Also, see blog post for other ways to make this recipe if you don't have an ice cream maker.

